- Connect your accounts
- Add integrations to a task
- Configure all fields
- Write clear instructions for the agent
1. Connecting an Integration
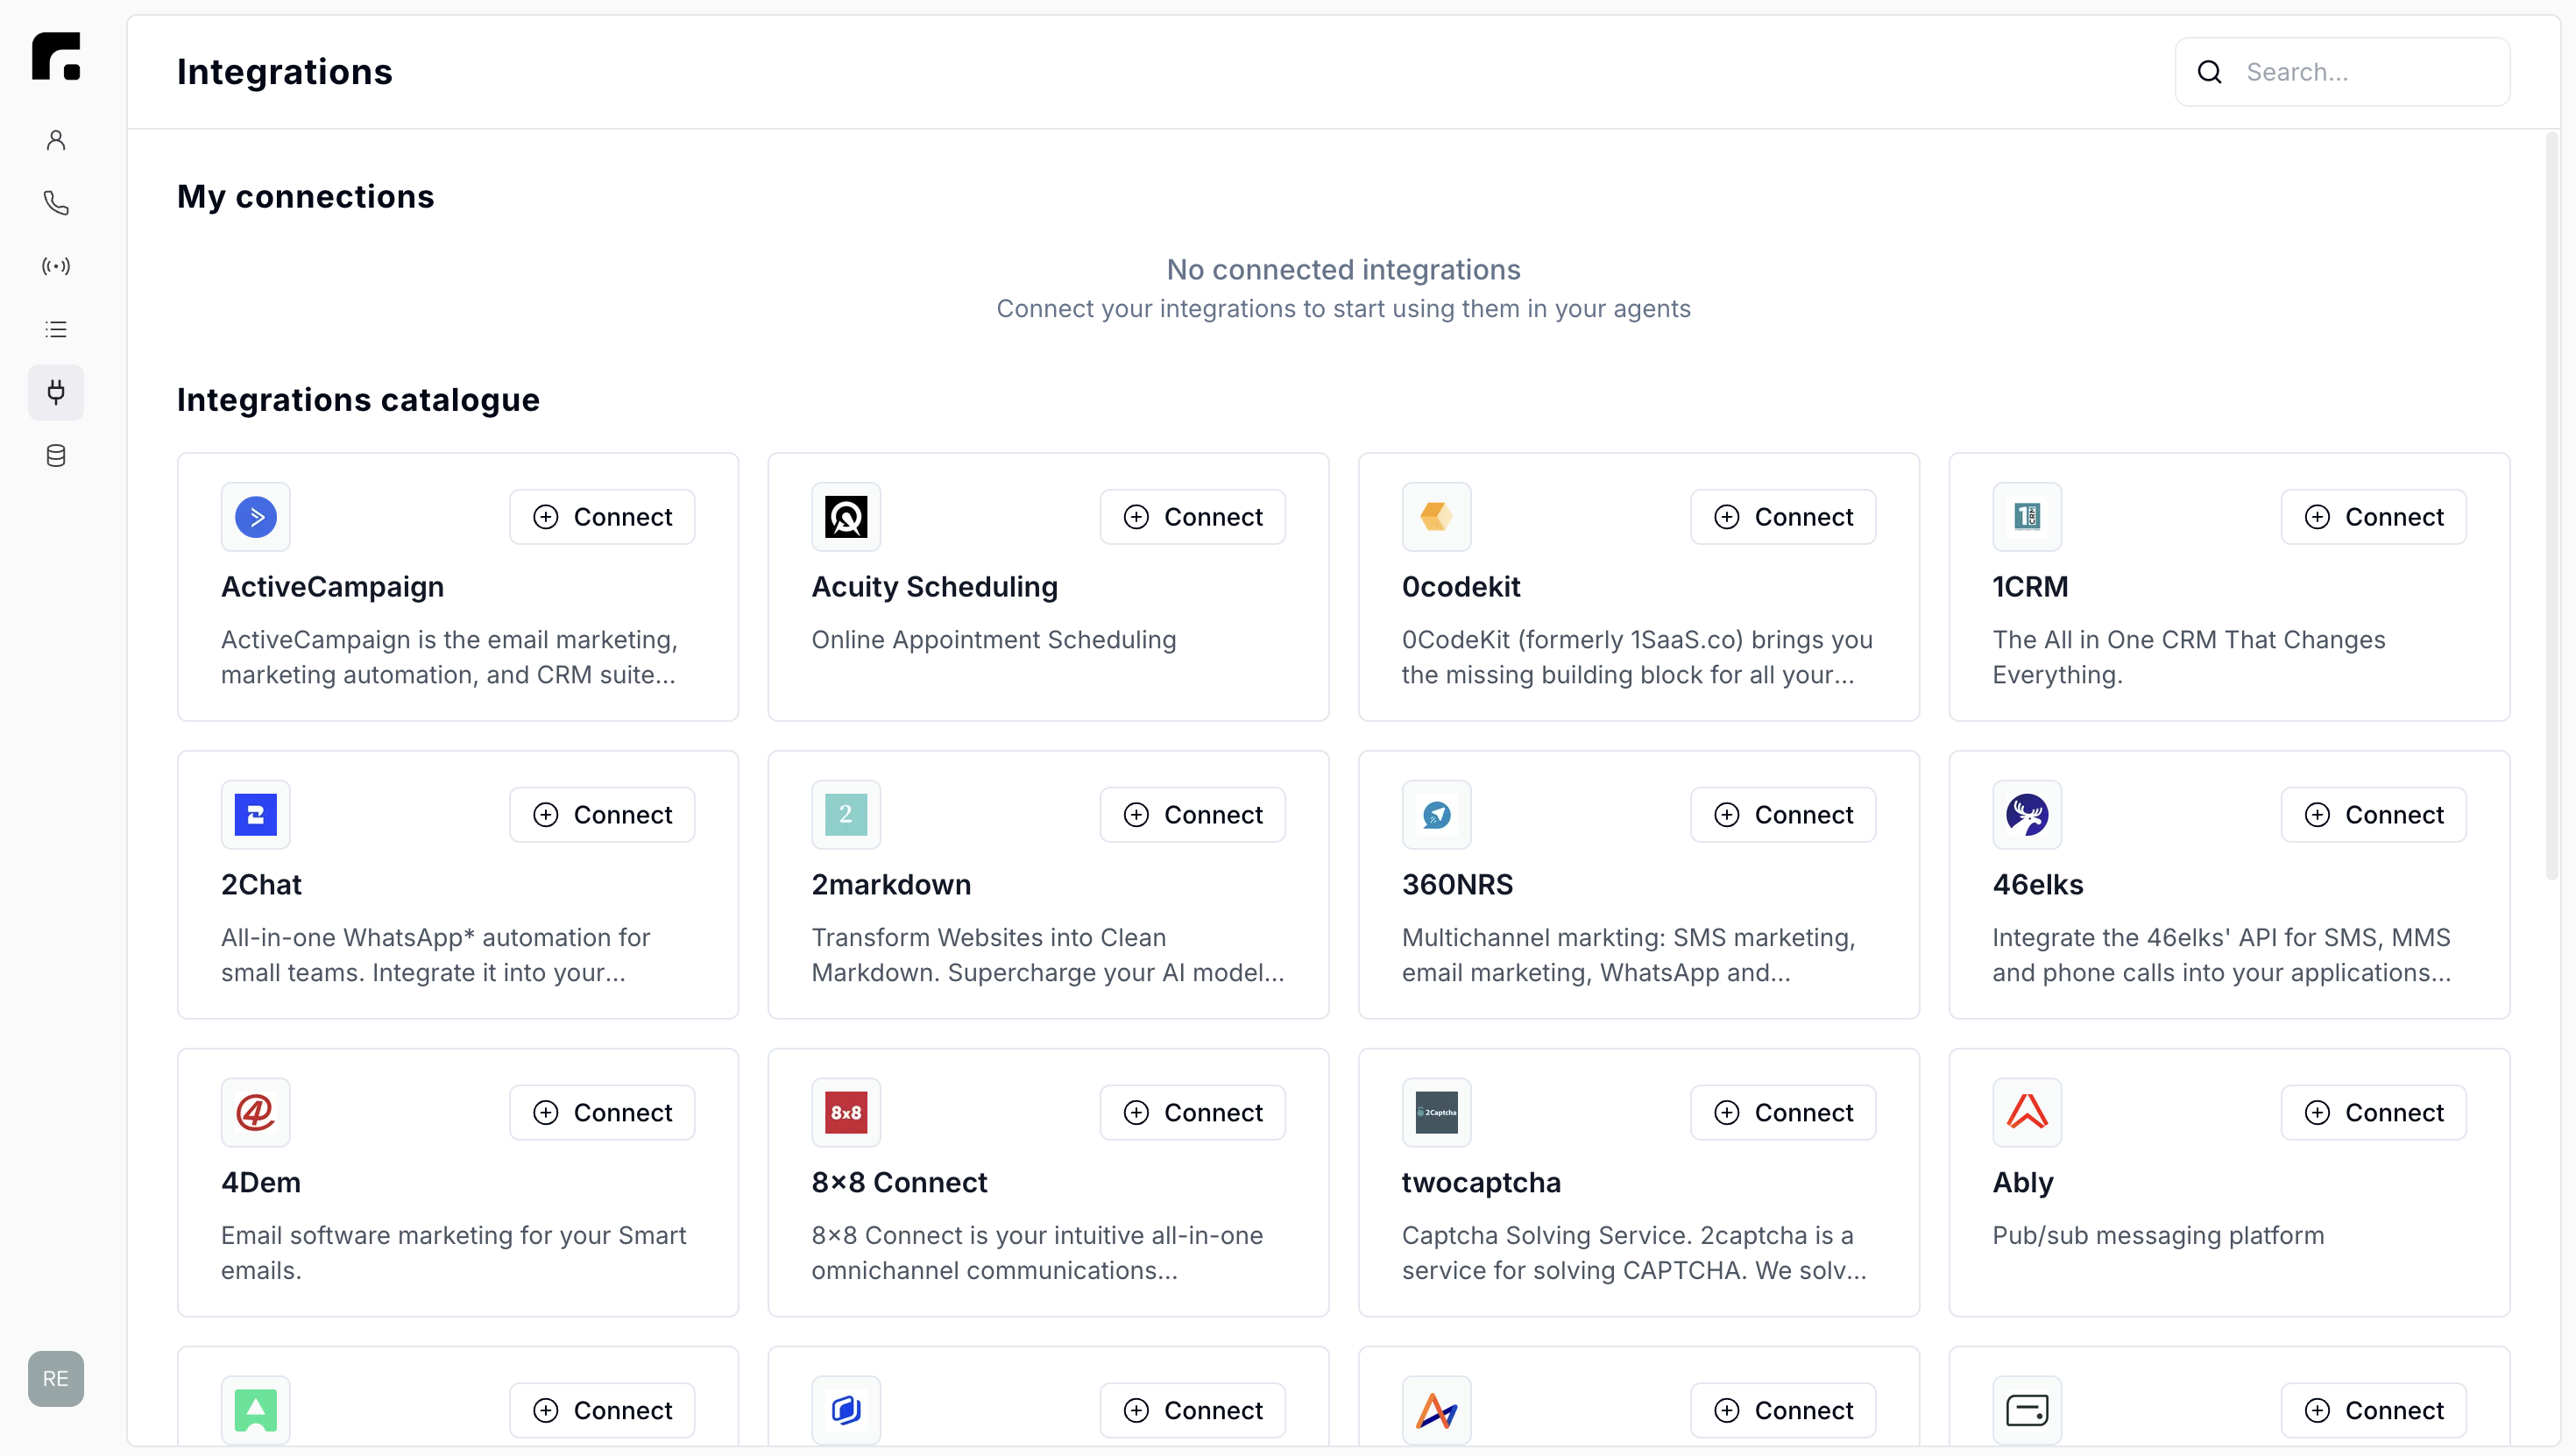
Before you can use an integration in an agent, you must first connect your account. One way is to do it in the dedicated Integrations page.Steps
- Click the Integrations tab in the left-hand menu.
- Search for the application you want (e.g. Gmail, Slack, Telegram).
- Click Connect on the application card.
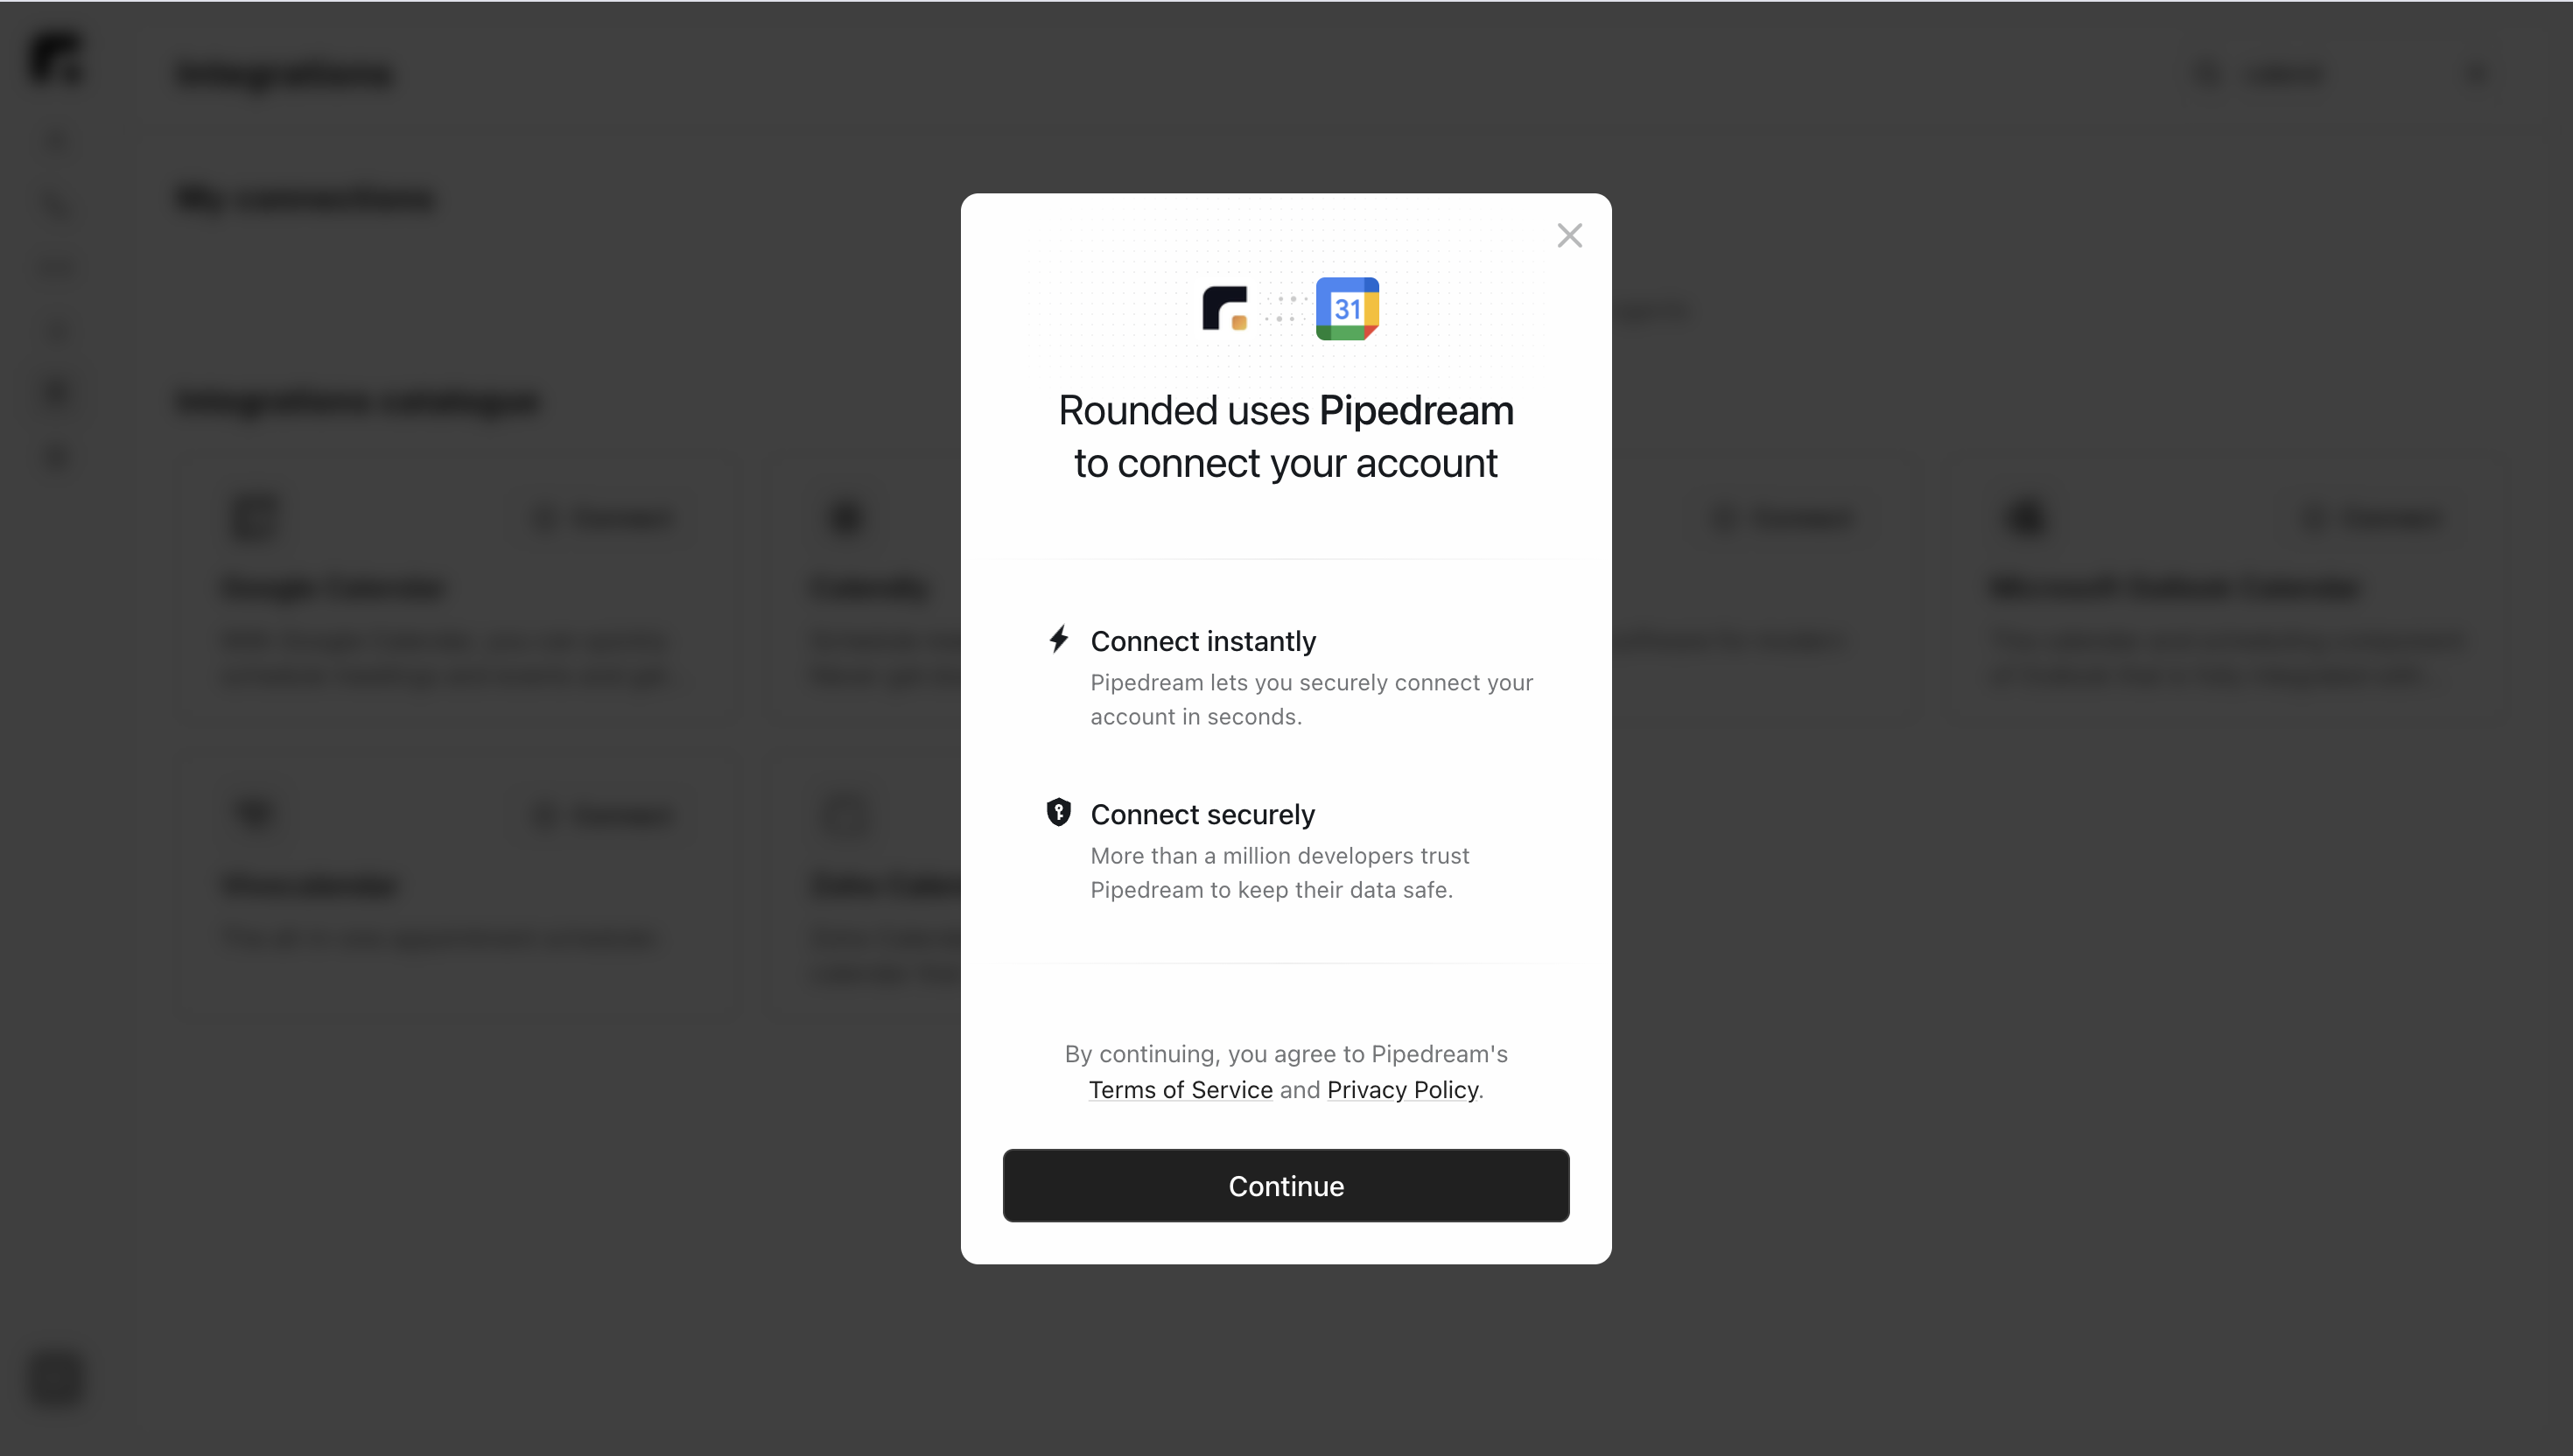
2. Authorising via Pipedream
A pop-up window opens to securely authorise access to your third-party account.Steps
- Click Continue.
- Log in to the external service and authorise access.
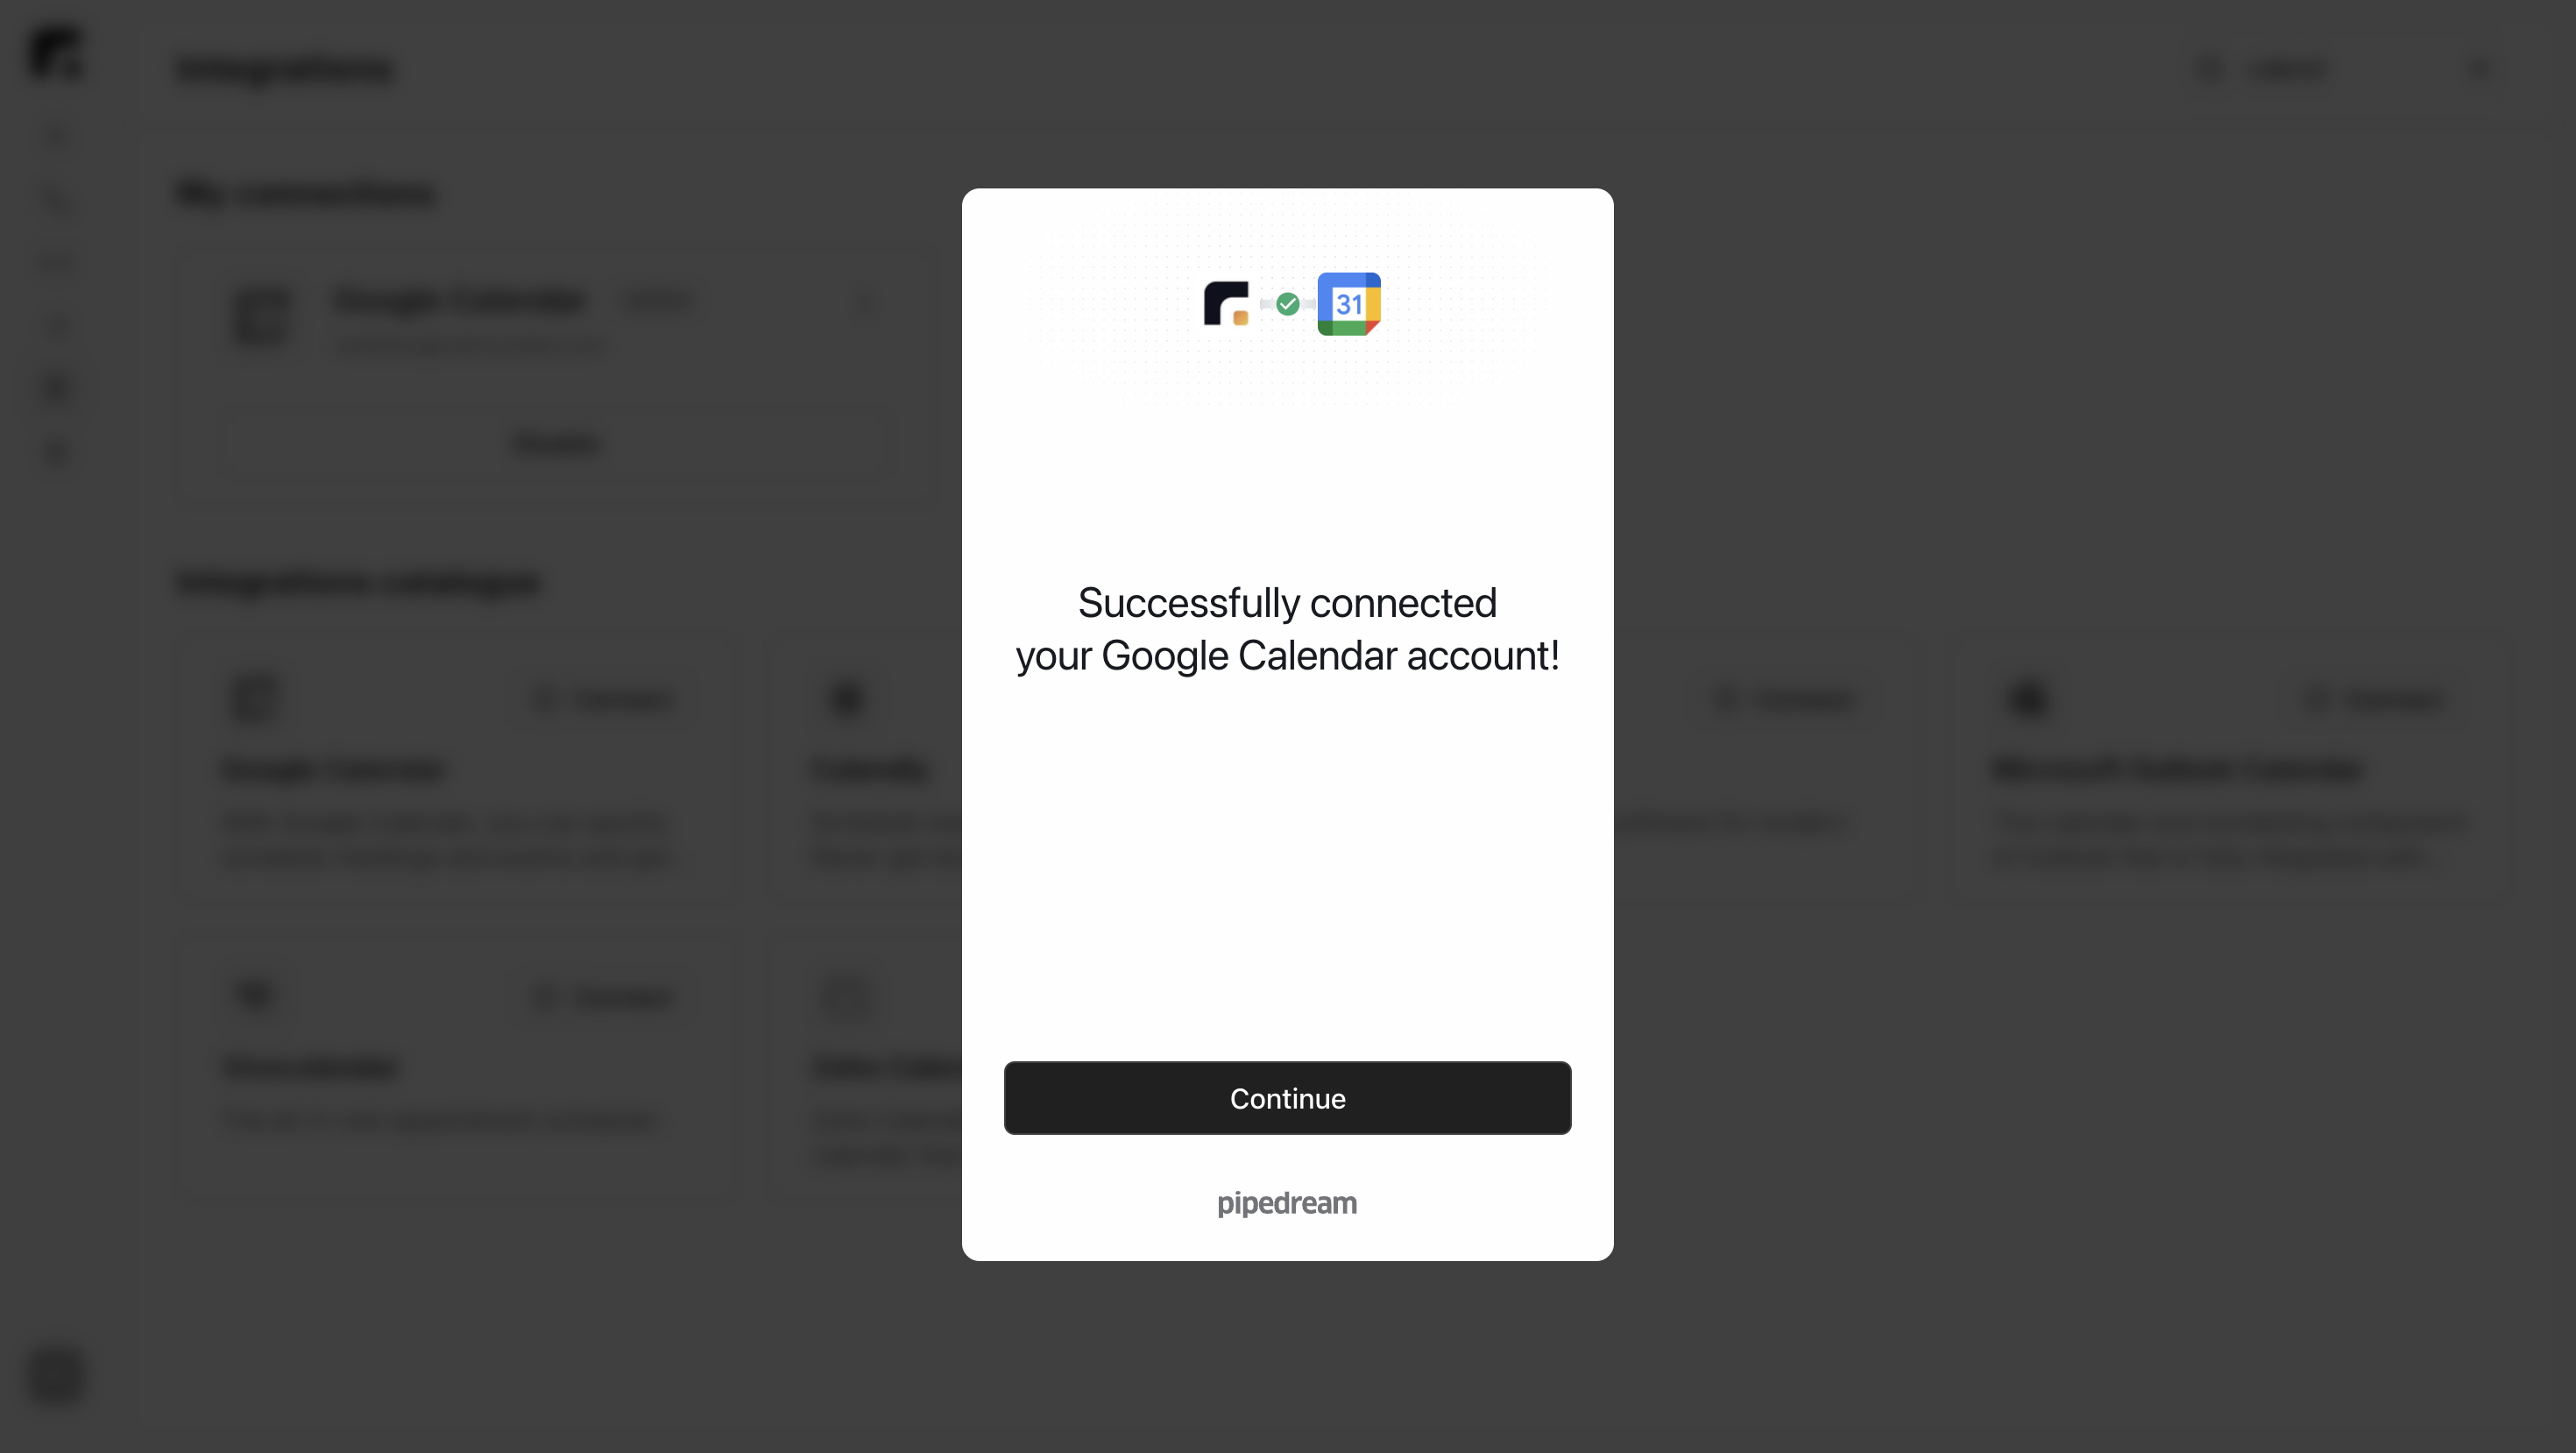
- The application now appears in My Connections with the status Active.
3. Adding the Integration to an Agent
Once your account is connected, you can use it inside your agents.Steps
- Open the Agents tab.
- Select the agent in which you want to add the integration.
- Click the relevant task to open its settings.
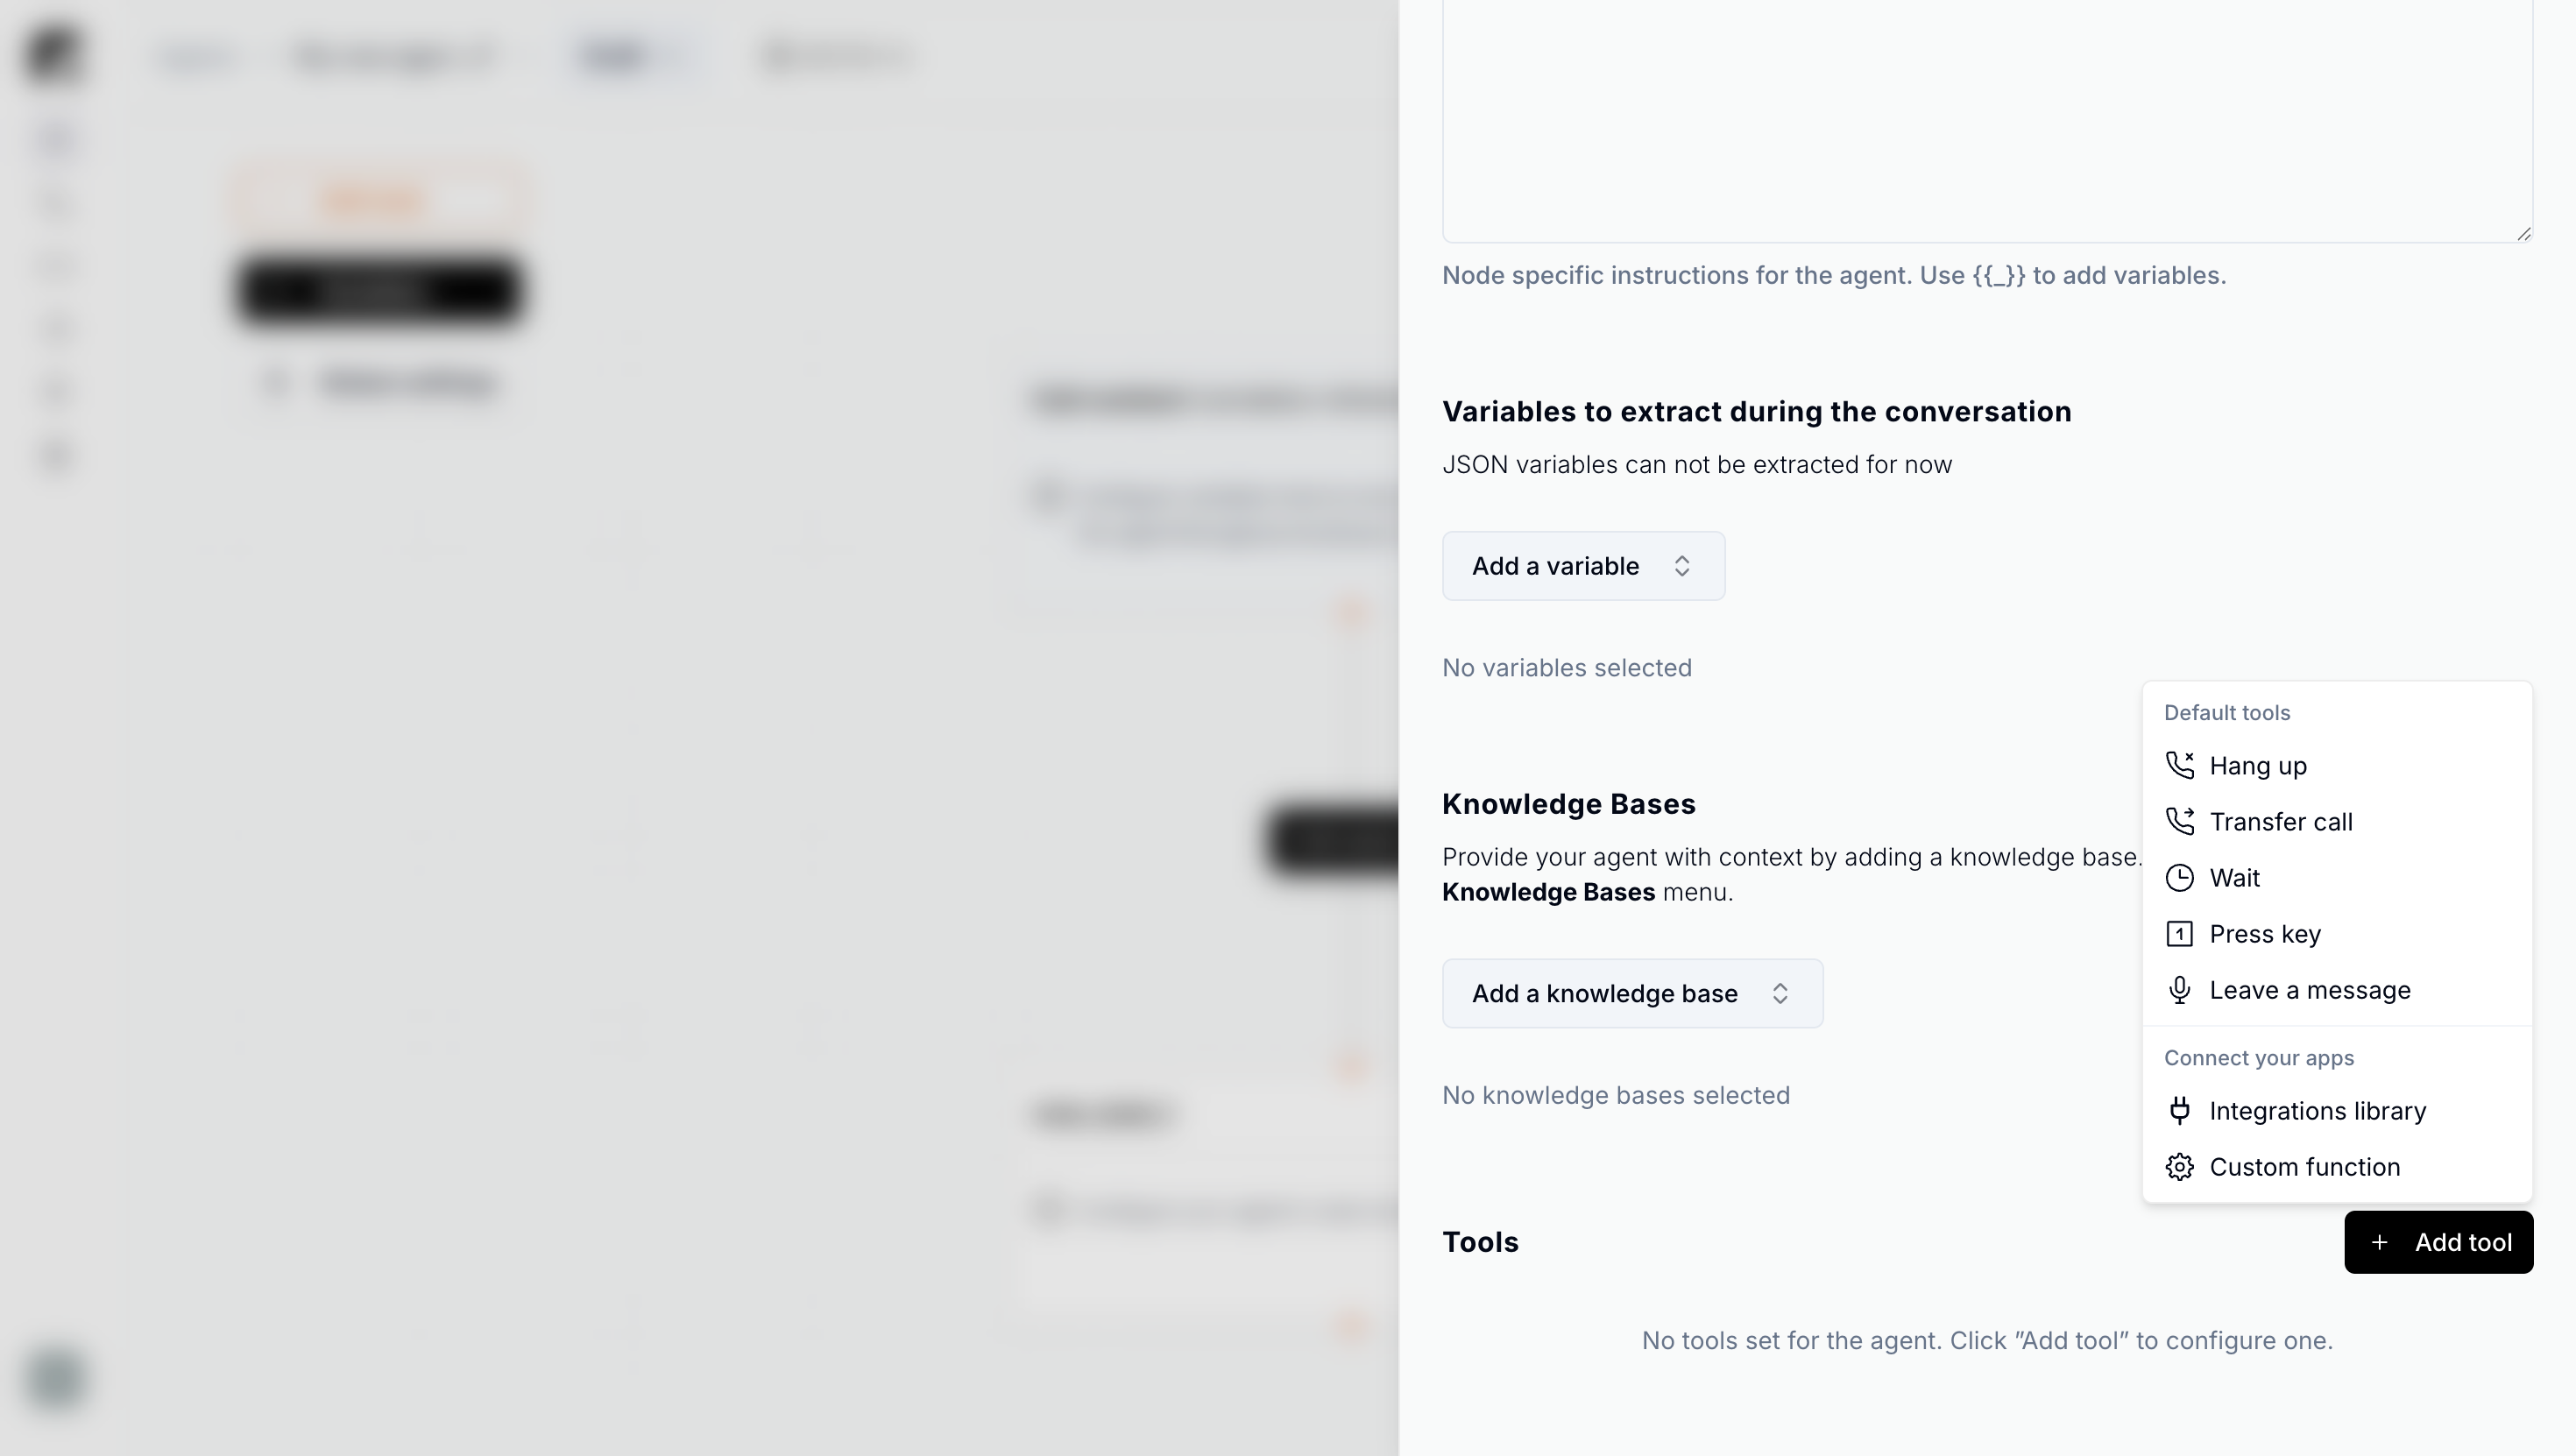
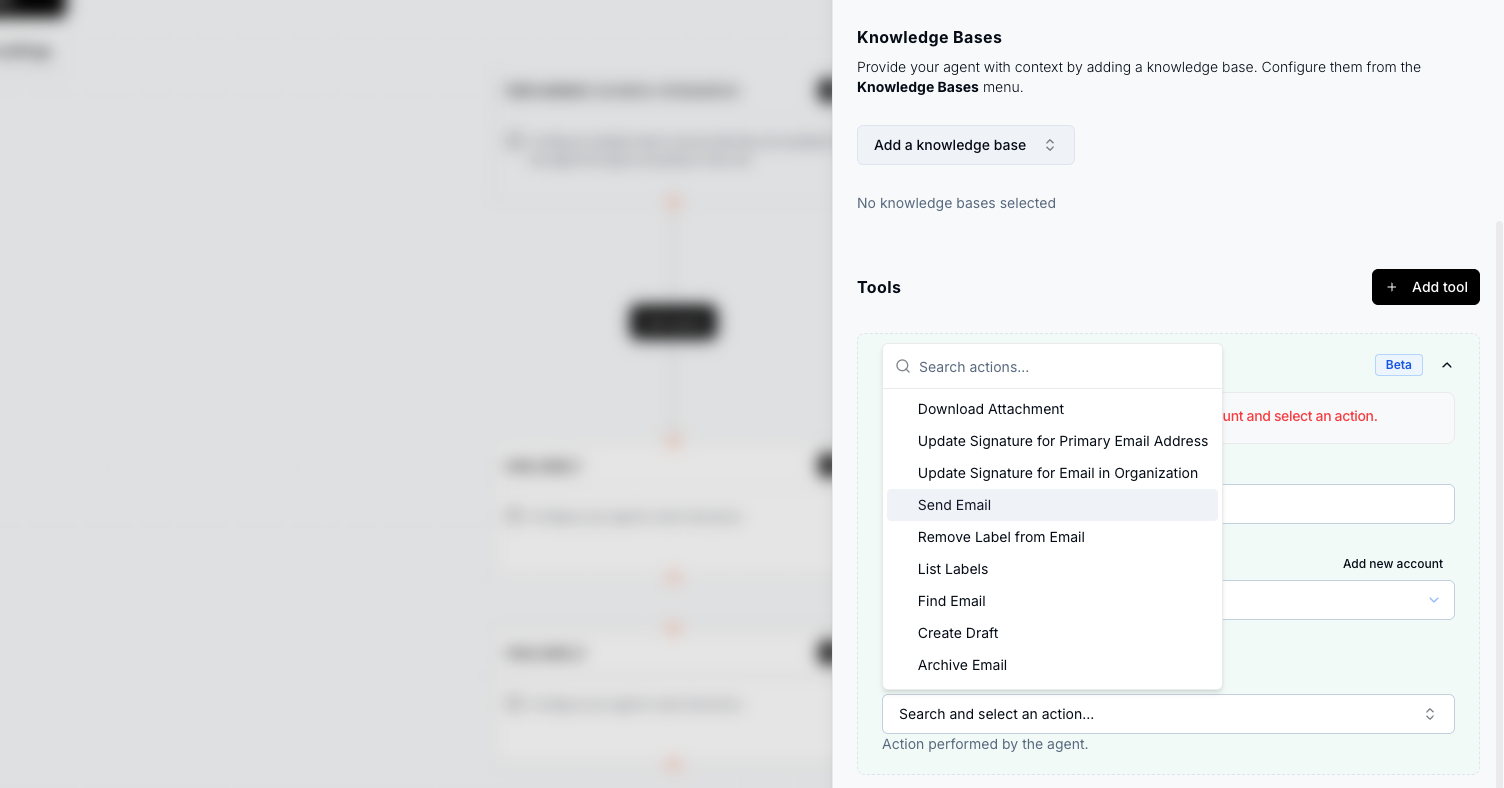
- Scroll to the bottom and click + Add tool.
- In the window that appears, click Integrations Catalog.
- Select the application you have connected.

4. Configuring the Integration
After selecting the application, a configuration form appears. Below is a detailed description of each field and best practices for writing your instructions.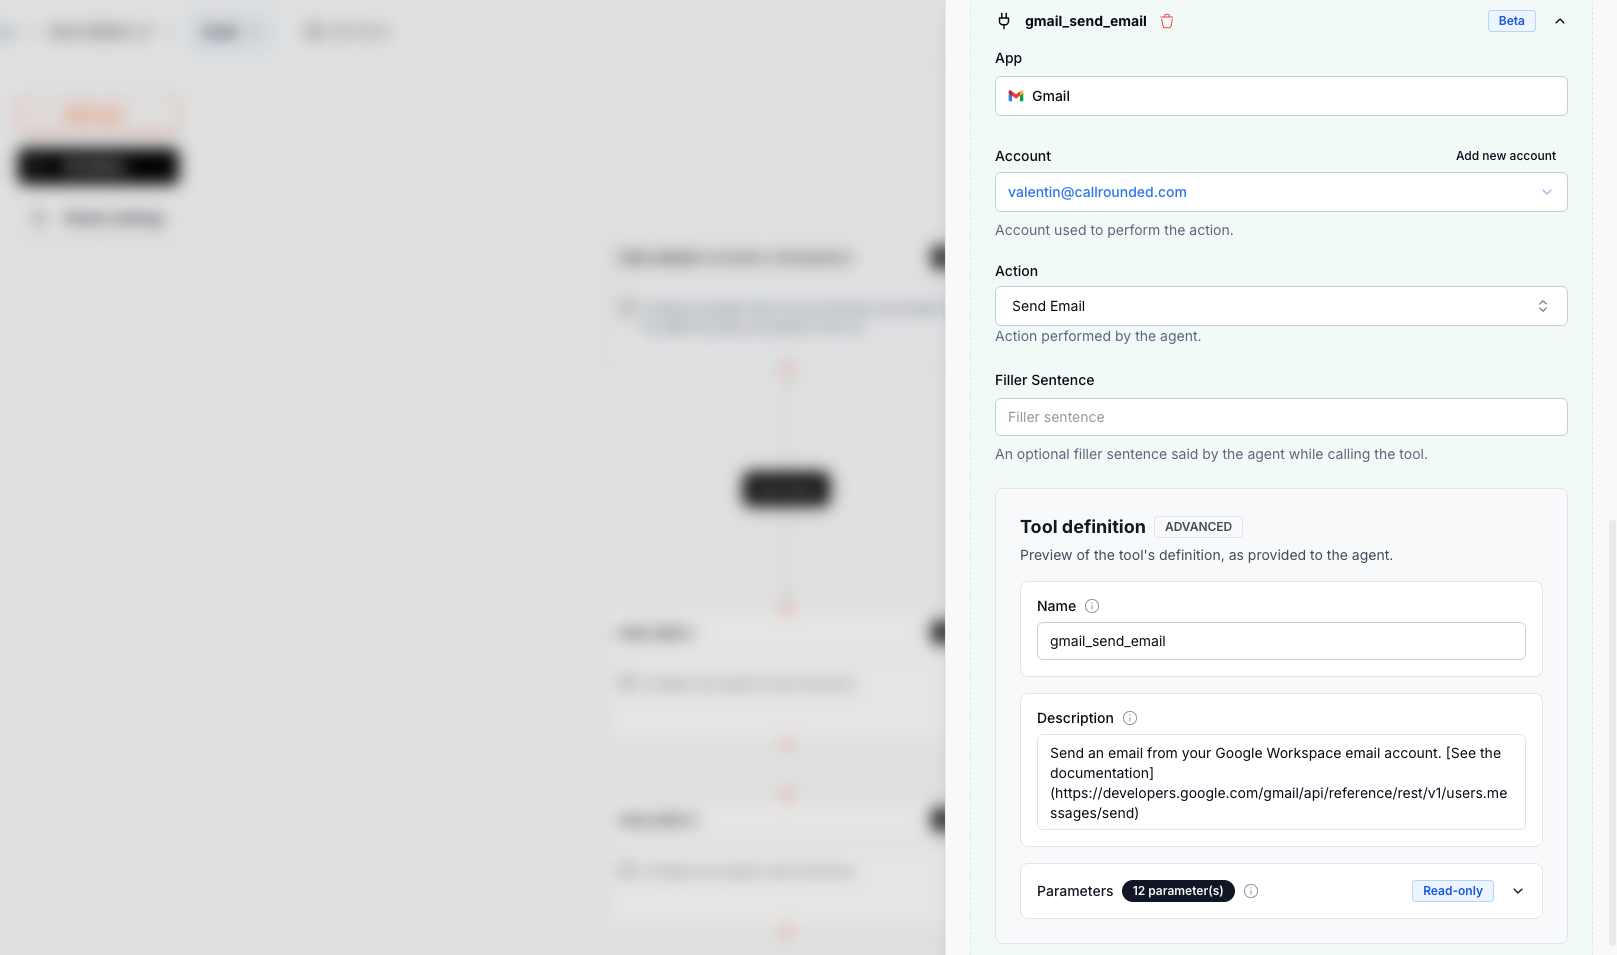
App
- What it is: The name of the selected application. This field is automatically populated.
Account
- What it is: The connected account that will be used for the action. If you have several accounts, select the one that corresponds to this integration.
Action
- What it is: The operation the agent will perform.
- Common examples:
Add Quick Event(Google Calendar),Send Message(Slack, Telegram). - Tip: Choose the simplest action if you are starting out.
Filler Sentence
- What it is: The sentence spoken by the agent while the action is processing.
- Examples: “One moment, I am preparing your reservation.” • “I am sending your message, please hold on.”
Tool Definition: Name
- What it is: The internal, technical name of the tool.
- Recommendations: Use a short, lower-case name without spaces – e.g.
send_text_message_or_reply,book_calendar_event.
Tool Definition: Description
This is the most important field. The description acts as the guiding prompt the agent will follow word-for-word to prepare and execute the action.Writing Recommendations
Be precise and actionable. Always include:- Default values (duration, title, channel, identifier, …)
- Mandatory fields
- Verifications or confirmations
- What to do if information is missing
Detailed Description Examples
SlackTool Definition: Parameters
- What it is: Parameters provided by the agent to execute the action.
Some parameters of type
enum require the agent to first retrieve the list of possible values. This is done using a special tool named CONFIGURE_COMPONENT, automatically added to the agent’s context. When necessary, you can instruct the agent to call the CONFIGURE_COMPONENT tool to obtain the list of valid parameter values before executing the action.5. Complete Configuration Example (Telegram)
Here is a concrete example of a fully configured Telegram integration:- App: Telegram
- Account: Your connected Telegram account
- Action: Send Message
- Filler Sentence: One moment, I am sending the notification.
- Tool Definition Name:
send_text_message_or_reply - Tool Definition Description:
6. Testing the Integration
Before going live:- Launch a test call.
- Verify that:
- The action executes properly.
- Default values work as expected.
- Confirmations are correctly handled.
Best Practices
- Always be explicit in the description.
- Mention the channel or group identifier.
- Indicate default values.
- Request confirmation before executing any action.
- Test multiple scenarios before moving to production.