> ## Documentation Index
> Fetch the complete documentation index at: https://docs.callrounded.com/llms.txt
> Use this file to discover all available pages before exploring further.
# 2. Build your first agent in a few minutes on Rounded
> Take-off checklist
# Build your first agent in a few minutes on Rounded
Let’s walk through the essential steps to create, test, and deploy your first AI voice agent using Rounded.
***
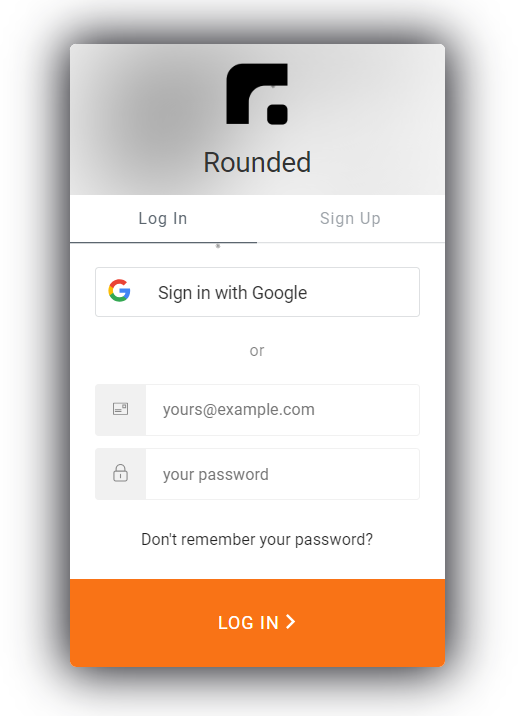
## 1. Create your account
Go to the [login terminal](https://app.callrounded.com) to create your Rounded account. You can sign up with your email or Google account.
 ***
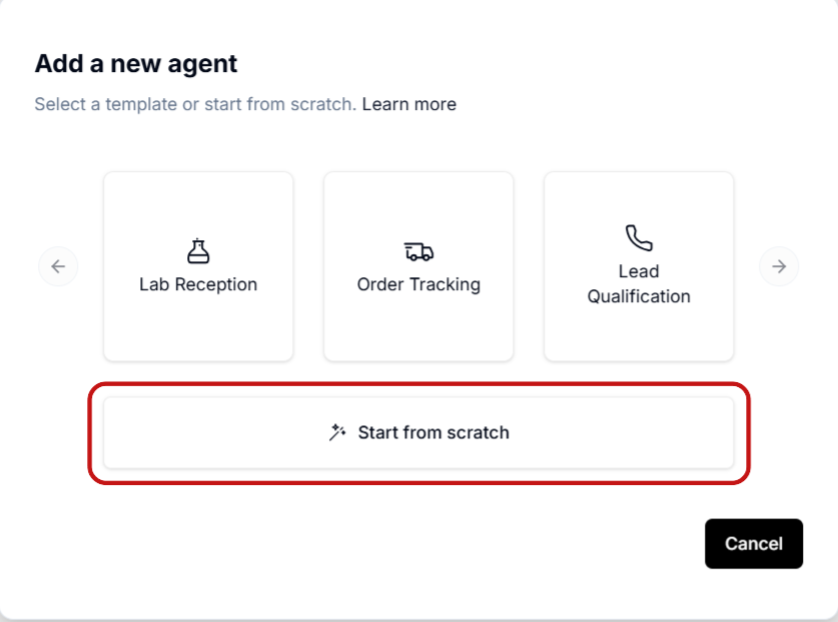
## 2. Choose how to start
Once inside the platform, you can either:
* Start with an existing template (recommended for first-time users)
* Start from scratch
***
## 2. Choose how to start
Once inside the platform, you can either:
* Start with an existing template (recommended for first-time users)
* Start from scratch
 ***
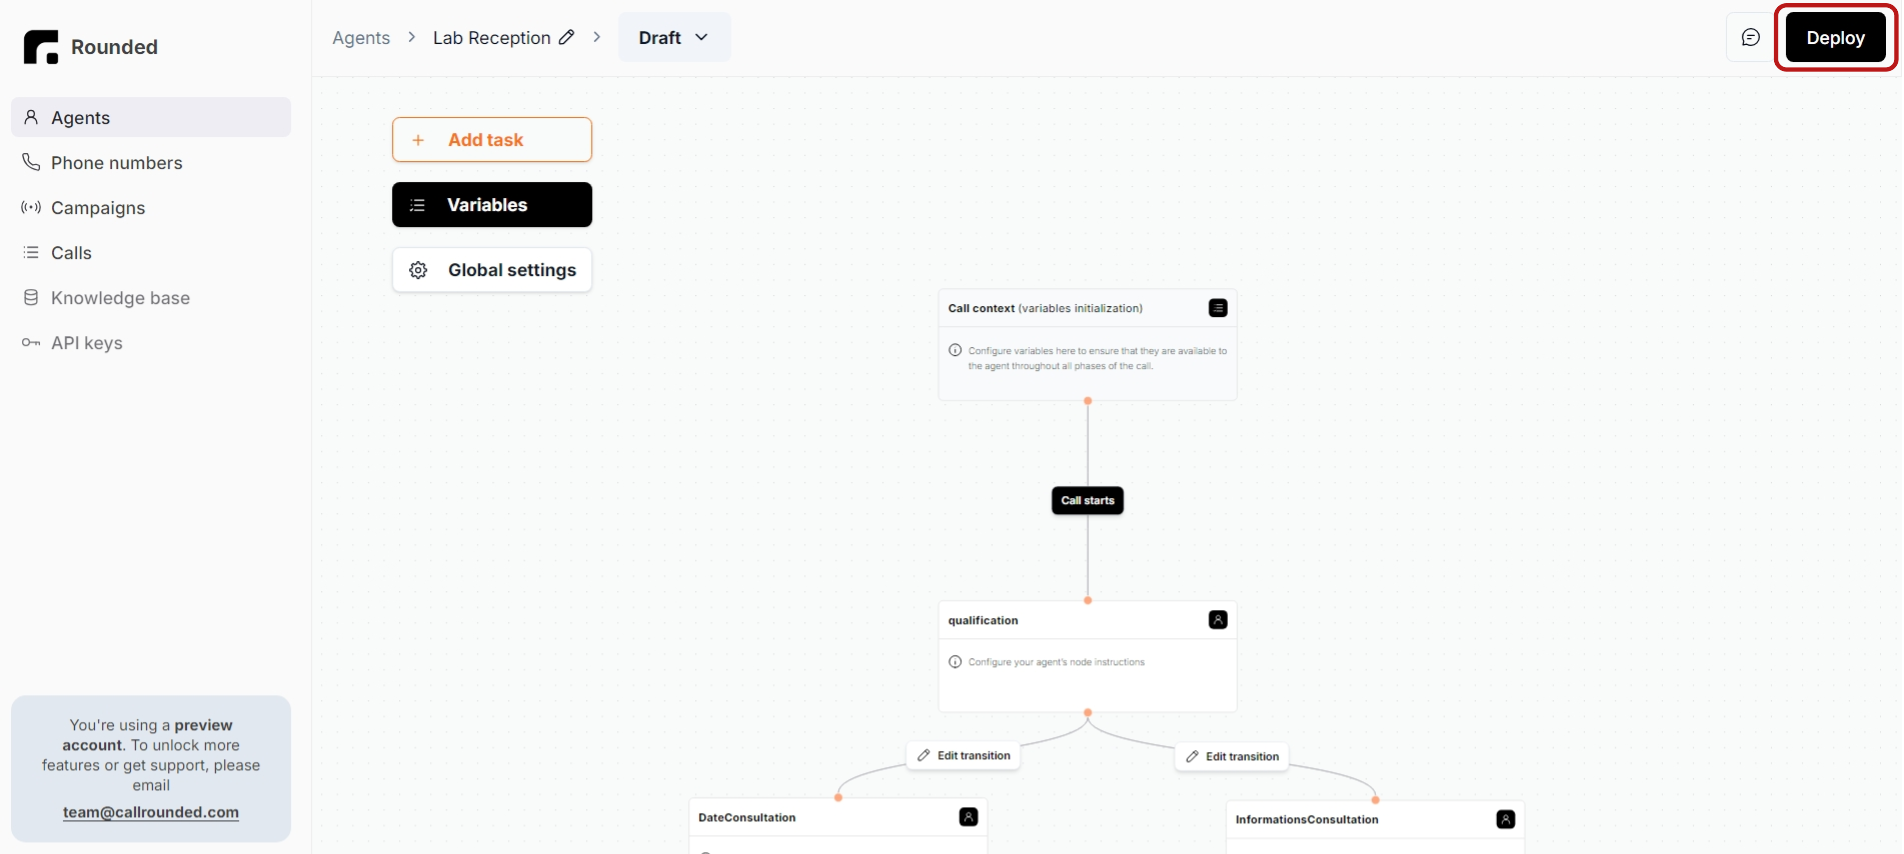
## 3. Select a template
Choose the **Lab Reception** template as a starting point.\
Even if you're not building a lab receptionist, it's a good base to explore and customize.
***
## 4. Adapt the flow
Modify the flow to match your use case. You can edit the procedures, tasks, and wording to fit your needs.
***
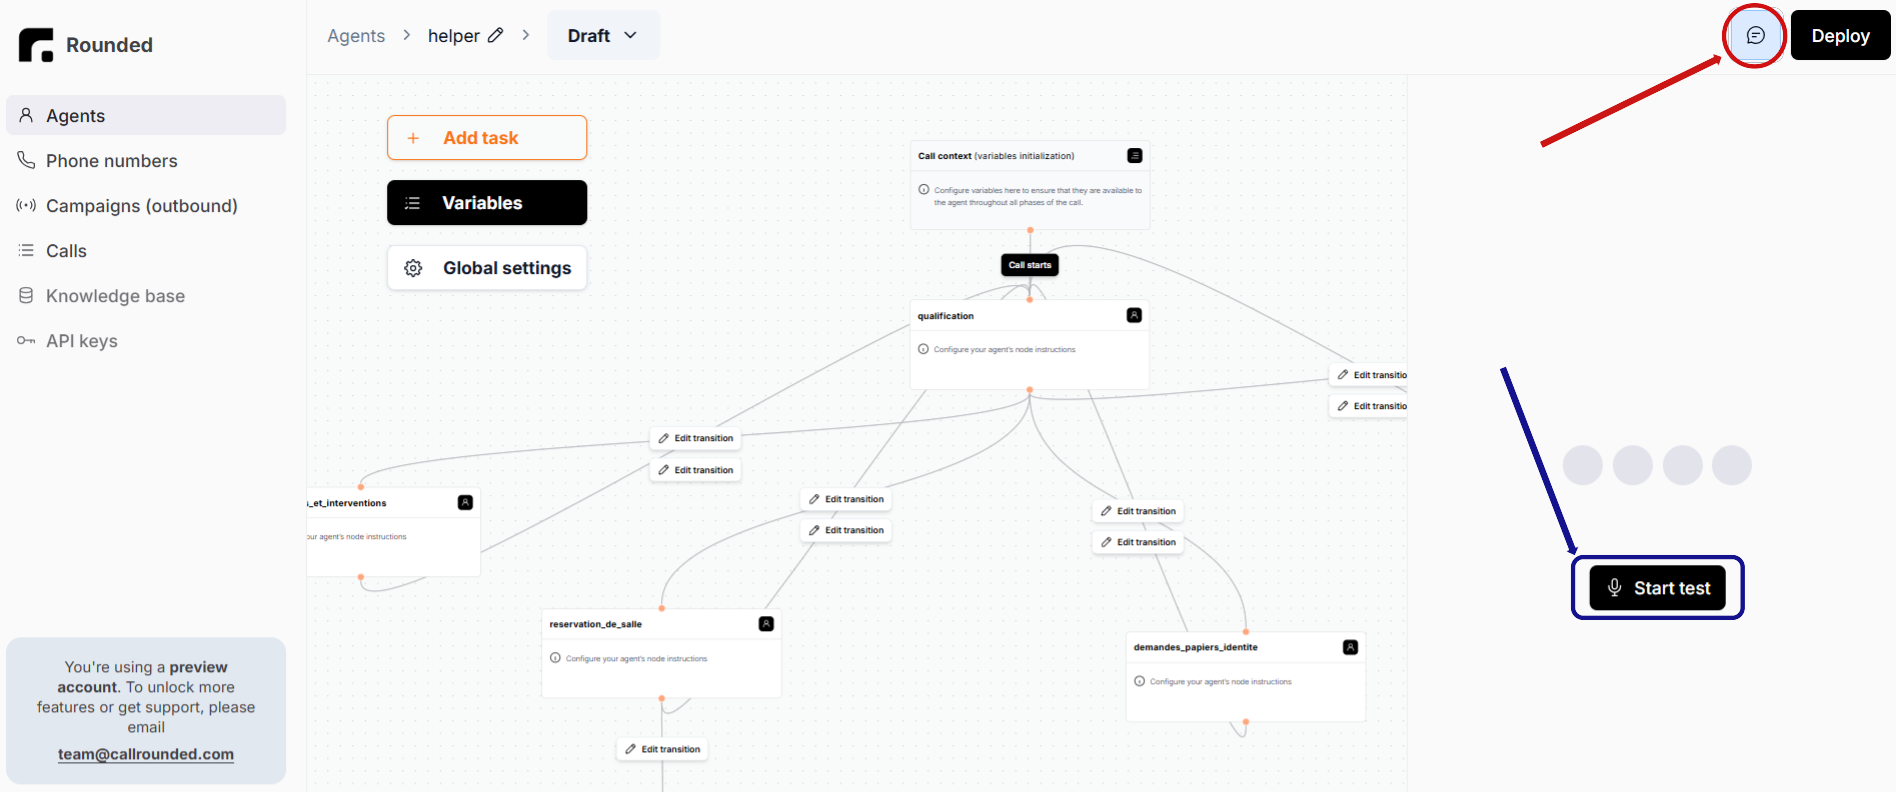
## 5. Test your agent
To test how your agent behaves:
1. Click the chat bubble in the top-right corner of the screen
2. Then click the **Start test** button
***
## 3. Select a template
Choose the **Lab Reception** template as a starting point.\
Even if you're not building a lab receptionist, it's a good base to explore and customize.
***
## 4. Adapt the flow
Modify the flow to match your use case. You can edit the procedures, tasks, and wording to fit your needs.
***
## 5. Test your agent
To test how your agent behaves:
1. Click the chat bubble in the top-right corner of the screen
2. Then click the **Start test** button
 ***
## 6. Deploy your agent
Once you’re happy with the behavior, deploy your agent to make it live.
***
## 6. Deploy your agent
Once you’re happy with the behavior, deploy your agent to make it live.
 ***
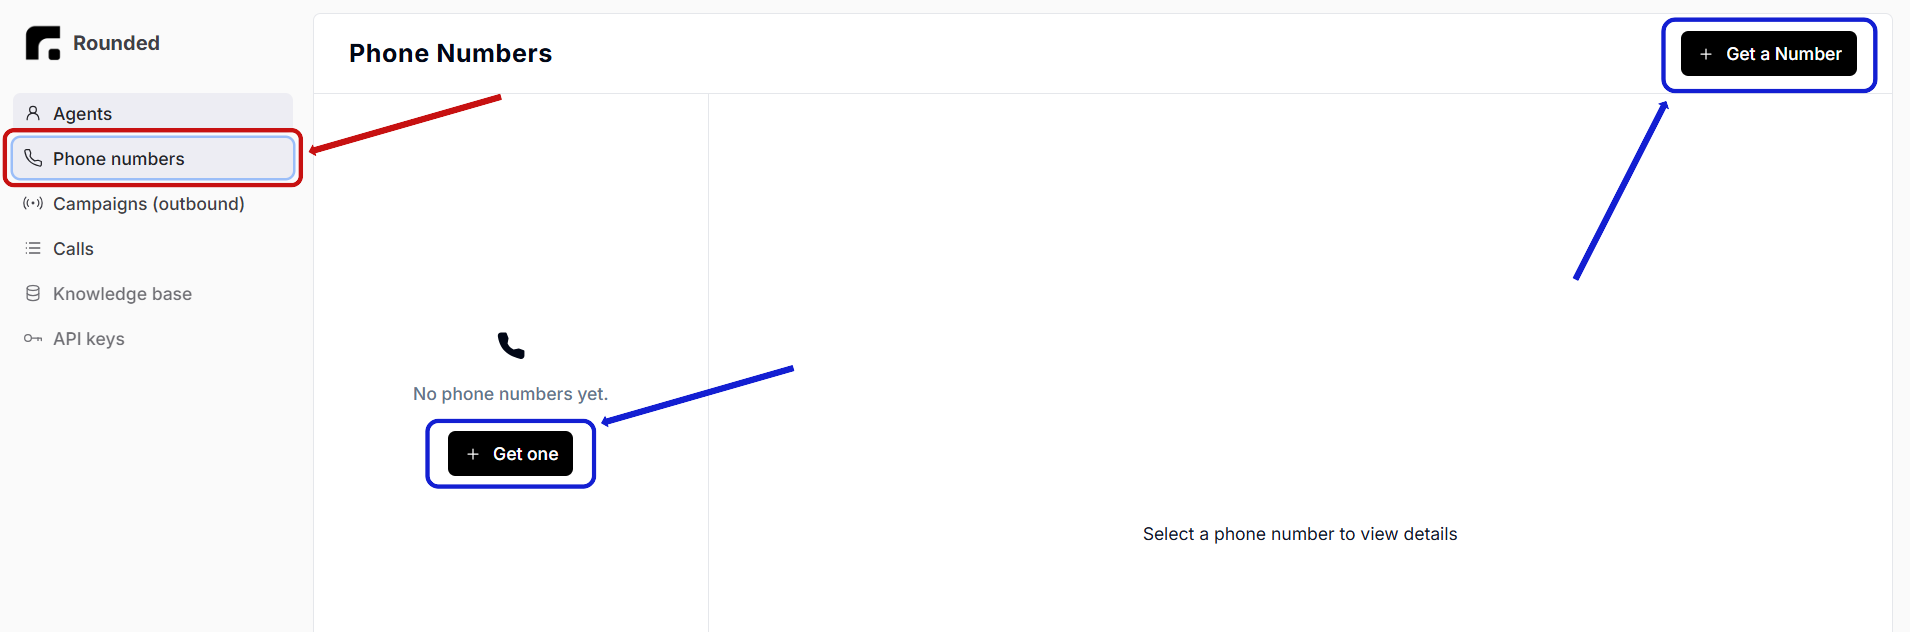
## 7. Assign a phone number
To make your agent reachable by phone:
* Go to the **Phone Numbers** tab
* Click **Add Phone Number**
***
## 7. Assign a phone number
To make your agent reachable by phone:
* Go to the **Phone Numbers** tab
* Click **Add Phone Number**
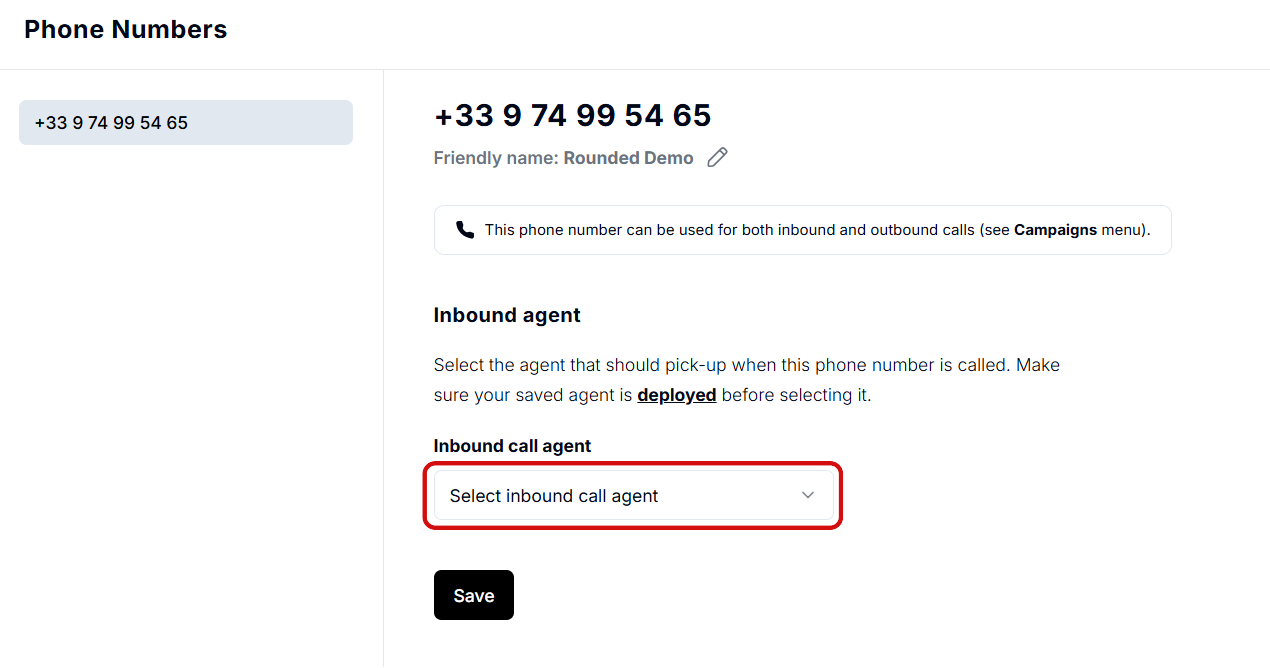
 Then:
* Select your agent under **Inbound Call Agent**
* Click **Save**
Then:
* Select your agent under **Inbound Call Agent**
* Click **Save**
 ***
## 8. Call your new agent
Your agent is now ready to take calls!
By default, your account includes one phone number.\
To request more, contact us at [team@callrounded.com](mailto:team@callrounded.com).
***
## 8. Call your new agent
Your agent is now ready to take calls!
By default, your account includes one phone number.\
To request more, contact us at [team@callrounded.com](mailto:team@callrounded.com).